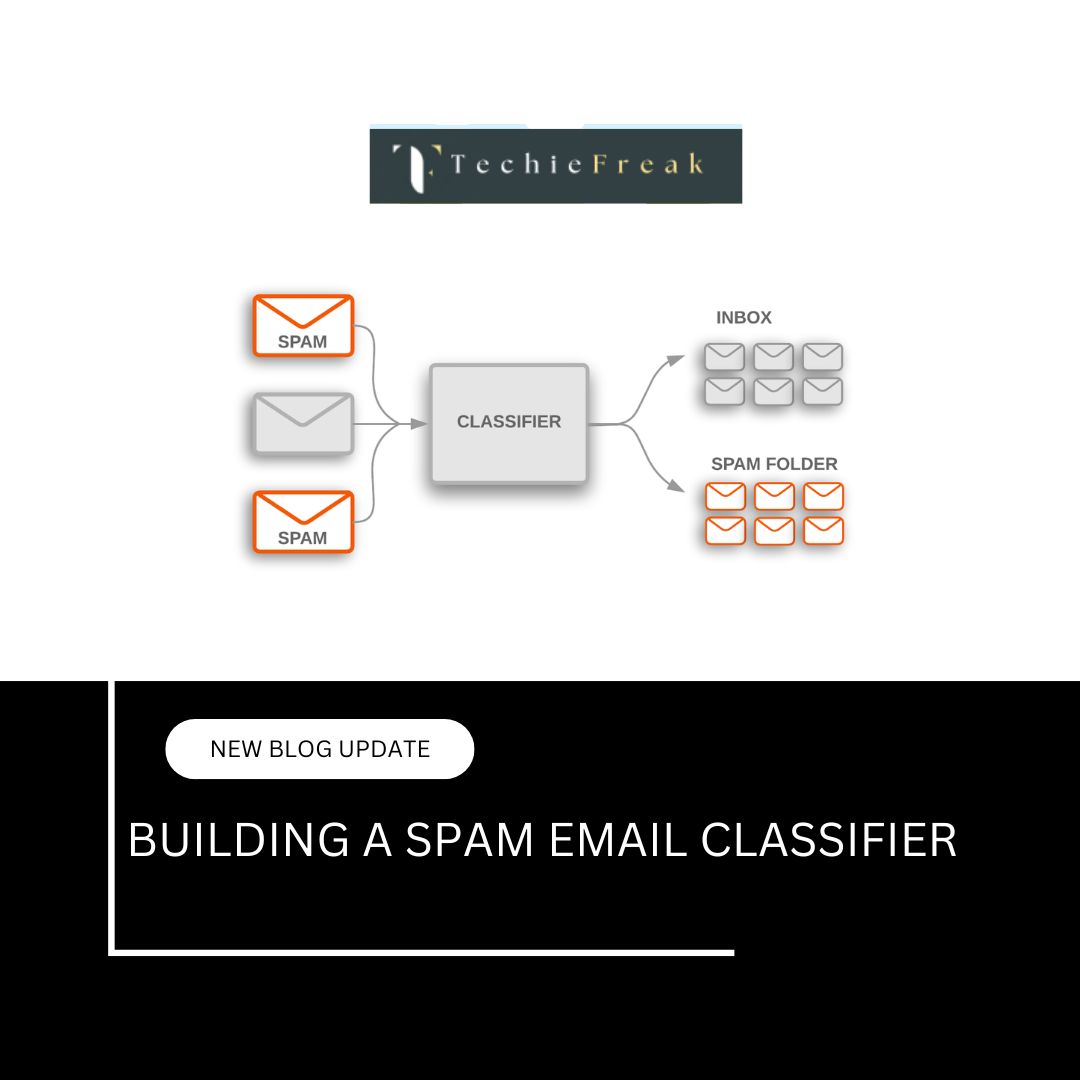
Building a Spam Email Classifier with AI
Introduction
In today's world, spam emails have become a major nuisance. From unsolicited advertisements to phishing attempts, spam emails flood our inboxes, making it harder to find important messages. Building a spam email classifier is a useful AI project that automatically categorizes emails into two classes: Spam or Ham (Not Spam). This is done by training a machine learning model on a dataset of labeled emails, where each email is already tagged as spam or not.
In this blog, we will guide you through the process of creating a spam email classifier using Natural Language Processing (NLP) and Machine Learning (ML) techniques.
How AI Works in a Spam Email Classifier
AI for spam email classification relies on Machine Learning and Natural Language Processing (NLP). Here's how it works:
- Data Collection: The first step is to gather a dataset of emails labeled as either "spam" or "ham" (legitimate).
- Preprocessing: Text data is cleaned and transformed into a format that the machine can understand.
- Feature Extraction: Text features are extracted using methods like CountVectorizer or TfidfVectorizer, which convert the text into numerical data.
- Model Training: A machine learning algorithm, such as Naive Bayes, is trained on the labeled data.
- Prediction: Once trained, the model can predict whether an incoming email is spam or ham based on its features.
- Evaluation: The performance of the model is evaluated using metrics like accuracy, precision, recall, and F1-score.
Steps to Build a Spam Email Classifier
Now, let’s break down the implementation process step by step.
Step 1: Import Required Libraries
We will start by importing the necessary Python libraries for data manipulation, feature extraction, and machine learning.
import pandas as pd        # For data handling
import numpy as np         # For numerical operations
from sklearn.model_selection import train_test_split
from sklearn.feature_extraction.text import CountVectorizer
from sklearn.naive_bayes import MultinomialNB
from sklearn.metrics import classification_report, confusion_matrix, accuracy_score
- pandas: To load and handle the dataset.
- numpy: For numerical operations.
- sklearn: For machine learning algorithms, data preprocessing, and evaluation metrics.
Step 2: Load the Dataset
We will use the SMS Spam Collection Dataset available from sources like Kaggle or UCI Machine Learning Repository. This dataset contains SMS messages labeled as either spam or ham.
df = pd.read_csv('spam.csv', encoding='latin-1')[['v1', 'v2']]
df.columns = ['label', 'message']
Explanation:
- We load the data and rename the columns for clarity: label (spam/ham) and message (the actual text).
Step 3: Preprocess the Text Data
Before feeding the data into the model, we need to clean it. This involves converting the labels to numeric values (spam = 1, ham = 0), and optionally, we could clean the text by removing stopwords, punctuation, or applying lemmatization.
df['label'] = df['label'].map({'ham': 0, 'spam': 1})
In this step, we map the text labels ("ham", "spam") to numeric values. This is necessary because machine learning models can only work with numerical data.
Optional Preprocessing:
- You can further clean the text by removing common words (stopwords), punctuation, and performing lemmatization to reduce words to their base forms.
Step 4: Feature Extraction
Machine learning models do not understand raw text, so we must convert the email messages into a numerical format. CountVectorizer is one of the simplest methods for text vectorization. It converts each email message into a vector of word counts.
vectorizer = CountVectorizer()
X = vectorizer.fit_transform(df['message'])  # Features (email content)
y = df['label']                              # Labels (spam/ham)
Explanation:
- CountVectorizer converts the text into a sparse matrix where each row represents an email and each column represents a word from the entire dataset's vocabulary.
- X is the feature matrix (email content converted to numbers).
- y is the target vector (spam/ham labels).
Step 5: Split the Data into Training and Test Sets
We will now split the data into training and test sets. Typically, 80% of the data is used for training, and 20% is used for testing.
X_train, X_test, y_train, y_test = train_test_split(X, y, test_size=0.2, random_state=42)
Explanation:
- train_test_split is a function that randomly splits the dataset into training and testing sets.
- X_train and X_test represent the email content for training and testing, while y_train and y_test represent the corresponding labels.
Step 6: Train the Model
We will now train the machine learning model. Here, we are using the Multinomial Naive Bayes classifier, which is effective for text classification tasks like spam detection.
model = MultinomialNB()
model.fit(X_train, y_train)
Explanation:
- The Naive Bayes algorithm is simple and works well for text classification tasks, especially when the features (words) are conditionally independent, which is often a reasonable assumption in spam classification.
Step 7: Evaluate the Model
After training, we will evaluate the model's performance on the test set using several metrics such as accuracy, precision, recall, and F1-score.
y_pred = model.predict(X_test)
print(confusion_matrix(y_test, y_pred))
print(classification_report(y_test, y_pred))
print("Accuracy:", accuracy_score(y_test, y_pred))
Explanation:
- confusion_matrix gives us the number of true positives, true negatives, false positives, and false negatives.
- classification_report provides a detailed summary of the precision, recall, and F1-score.
- accuracy_score gives us the overall accuracy of the model.
Step 8: Test the Model with Custom Input
Finally, let’s test the model on a new email to see if it classifies it as spam or not.
test_email = ["Get a FREE iPhone now by clicking this link!"]
test_vector = vectorizer.transform(test_email)
print("Spam" if model.predict(test_vector)[0] else "Not Spam")
Explanation:
- test_email is the new email we want to classify.
- vectorizer.transform(test_email) converts the test email into a vector.
- The model then predicts whether the email is spam or not based on its features.
Conclusion
In this blog, we built a simple spam email classifier using machine learning. We:
- Loaded and cleaned the dataset.
- Converted the email text into numerical features.
- Trained a Naive Bayes classifier.
- Evaluated the model's performance.
- Tested the model on a custom email.
By building such AI projects, you're not only learning how to apply machine learning techniques but also creating tools that can automate and solve real-world problems.
Next Blog- Creating an Image Classifier with Convolutional Neural Networks (CNNs)





.jpg)











.jpg)


.png)
.png)
.png)
.png)
.png)
.png)
.png)
.png)
.png)
.png)
.png)
.png)
.png)
.png)
.png)
.png)
.png)
.png)
.png)
.png)
.png)
.png)
.png)
.png)
.png)
.png)
.png)
.png)
.png)
.png)
.png)
.png)

.png)


